So, in listing my options yesterday for trying to stop the leak coming out of my mechanical lift pump, I eventually decided on a different option: reinstalling my original lift pump, which had I removed very early in this process–while still at anchor–thinking that it was bad since it wouldn’t prime the system. After installing the new, spare lift pump, it did the same thing (wouldn’t prime the system), so I (wisely) kept the old pump. (The electric pump I subsequently installed in the system took care of the priming issue.) I’ll get to the process that led to that decision in a bit.
First, though, I started out with yoga, knowing that it was a crucial tool in keeping my stress level down, and that if I weren’t doing that first thing in the day, I would be motivated more by fear than by rational thought for the rest of the day. So, biked over to the Esplanade and knocked that out.
Then, I decided I really needed to take care of other chores that would have to be accompished before I left the marina. (I guess this was a weird way of demonstrating to myself that I still had hope that would actually continue on my trip at some point!) So, I refreshed the 90 gallons of water in my freshwater tanks, as well as two water jerrycans I keep on deck. Then I flushed my anchor washing system with fresh water to clean out all the salt water that was sitting in the hoses and pump. Those took about an hour.
My AirHead composting toilet also needed the solid tank emptied, so I took care of that.1

I also removed the now pretty-well-deflated paddleboard from the boat and set about trying to find and fix the leak(s).
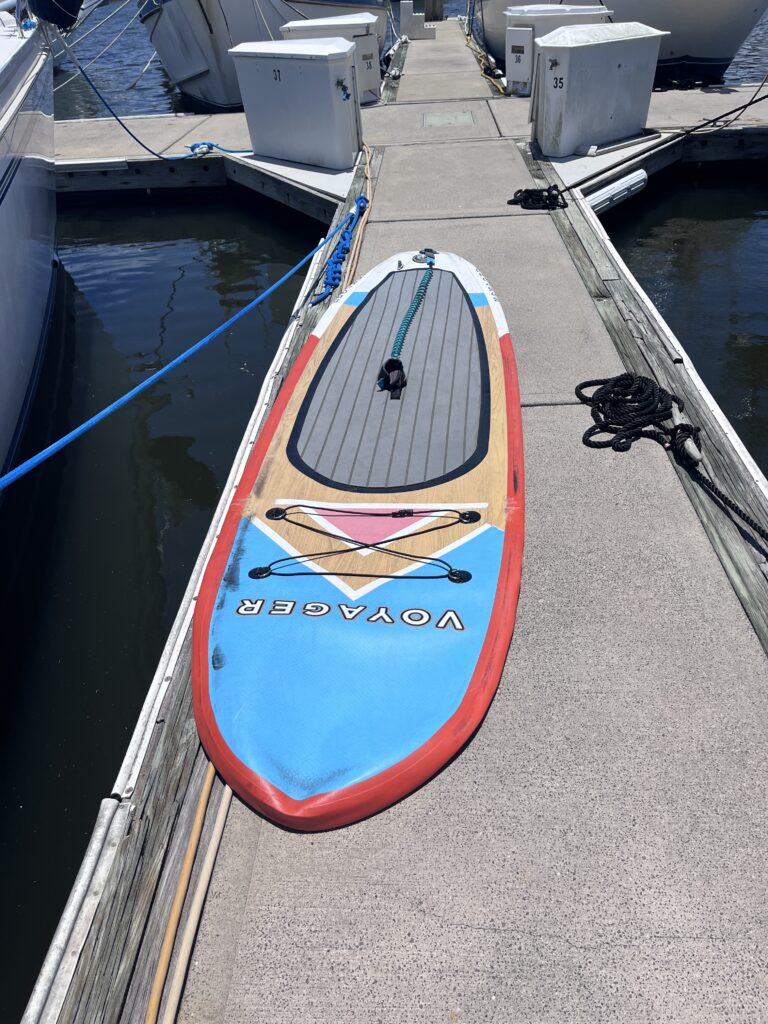
It turns out there were three more leaks–the same type as before, right along the seams. I’ve been very disappointed with this $750, top-of-the-West Marine-line of inflatable paddleboards. After very little use, it had started leaking along the seams where the different pieces were glued together during the manufacturing process. Just poor quality. But I can’t afford a new one right now, so I’m going to have to try to keep it alive.2
Then, finally, having tackled all those chores, I set back upon the engine around 11:00 am. There was really nothing to do at this point but head out to Ace Hardware to see if they had a fitting that would screw into the threaded hole in the mechanical lift pump on one side and a hose barb on the other instead of the existing compression fitting. The idea was to eliminate the entire compression system by replacing those fittings with barbs and flexible hose–just like I had done with the hose coming out of the fuel tank.
Well, after visiting Ace, Auto Zone, O’Reilly’s and NAPA, it was clear that this lift pump has some very unique thread sizes–probably “British Metric”–and the only places that might have them were Central Hydraulic or Osceola Plumbing. I had already been to both places with success for other fittings I had needed, but they were both closed until Monday. I was supposed to check out of the marina on Monday.
I had brought along the old, original mechanical lift pump with me since it was available and had the exact same size thread fittings as the new one which was currently installed on the boat.

I was lucky that my “friend”, the first guy I had encountered at NAPA, who was an experienced sailer and who lived at the same marina I was in, was working today. I waited for him to get available, then laid out my situation, knowing he would understand everything, even the type of engine I had. I explained the situation to him.3
After hearing the whole story and the options I had come up with, he picked up the (original) pump, moved the manual priming lever with his thumb over one of the input flanges and could feel suction, and said, “Why don’t you just use this one. Its seems to be working fine.” Well, that had been an option, but I just didn’t know how to tell if it was working, but he seemed to know and that made the entire solution rather simple (assuming it would work when on the engine). I wouldn’t have to deal with new fittings, but would just reinstall the old pump and hope it worked. I picked up my pump and fittings and headed for the door.
It was then I realized that despite reminding myself when I was leaving the boat early to be sure to check my “to buy” list before leaving Ace Hardware, I had gotten so involved with the two men who were helping me try to find the right connectors there that I completely forgot to get the other things I need, but instead hopped on my bide and headed to Auto Zone. What I had forgotten to get was brackets I needed to secure the new shutoff valved I had installed. Now I had to decide whether to head back to Ace Hardware for the brackets, or back to the boat to see if I could get it running with the old pump. I decided I would give myself a sort of incentive–make a deal, as it were.
Each time I had biked to Ace I had passed this cute little micro brewery, called The Drunken Duck. Today on the way I decided to pop my head in and see if they had any of my favorite type of beer: Dark and heavy alcohol content.
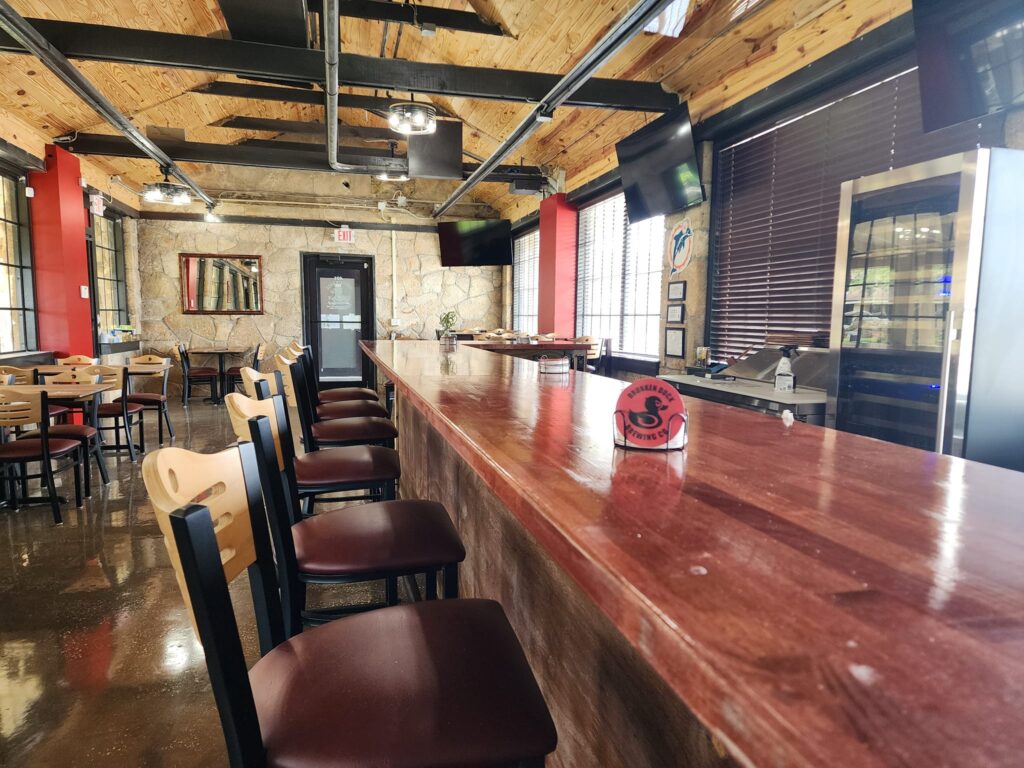
Of course, it wasn’t even quite noon yet, and the only person inside was the owner. It was a small, cute place, and he was very friendly, sharing with me how they had recently opened, etc., and eventually showed me a couple of beers of the type that I like. I was tempted to have one right there, but knew that I wouldn’t get anything done on the boat if I went down that path, and so told him there was a chance I might be back that evening.
Now, a couple hours later and getting ready to leave NAPA, I checked that Ace was open until 7 pm, and made a deal with myself that if I got the new pump installed and the engine ran fine with no leaks, I would shower, bike to Ace to pick up the brackets I needed, and then have a couple beers at The Drunken Duck to celebrate. After all, it was Saturday night.
So, I went back to the boat and set about changing the pumps.
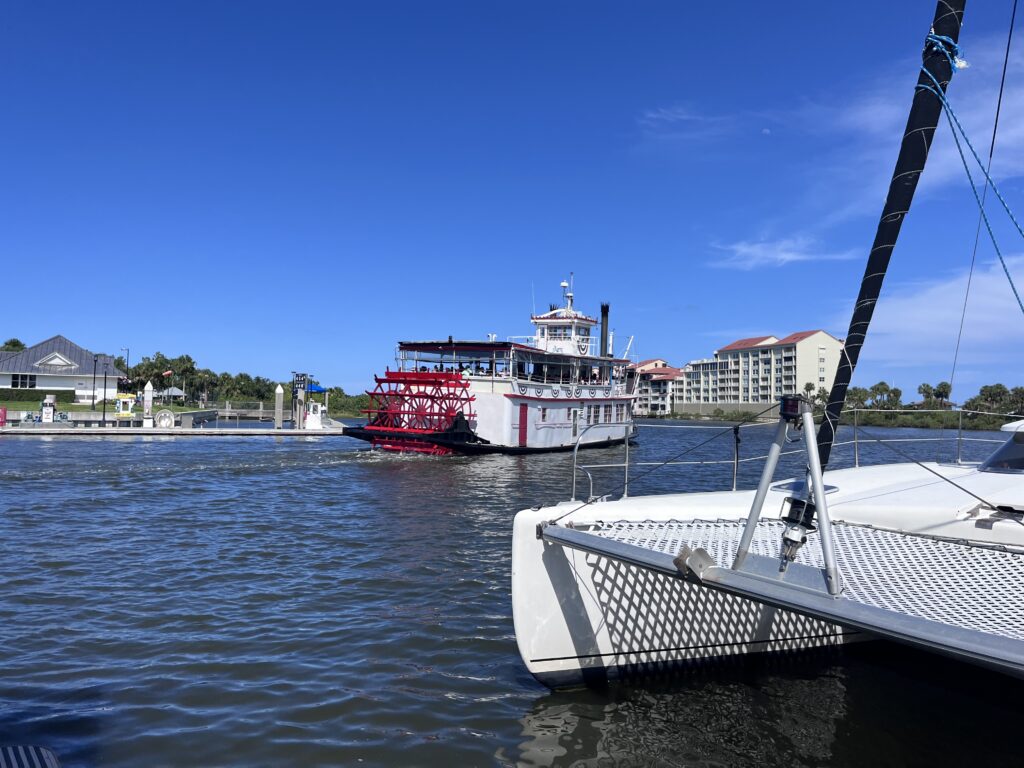
Sometime during all this, I got a text from Nicholay, who was now already in the Dry Tortugas, staging for the passage across to Mexico. I decided to Facetime him (which was possible because he had Starlink) and we talked for awhile about his plans, about the latest struggles with my engine, etc. I also mentioned how shallow the water was here and how I was going to have to pick and choose carefully the time I would take the boat out to test the system. I decided to demonstrate how shallow the water was here by turning on my depth meter so he could see that I was typically sitting right in about six feet of water in the slip (which gave me only 4″ under the boat)!
But, when I turned on the depth sounder, it didn’t work. Just —- where the depth would normally show. I had turned this thing on at least this 10 times in the previous week without an issue. I didn’t understand. So, I decided to try my second depth sounder, the one on my GPS.4
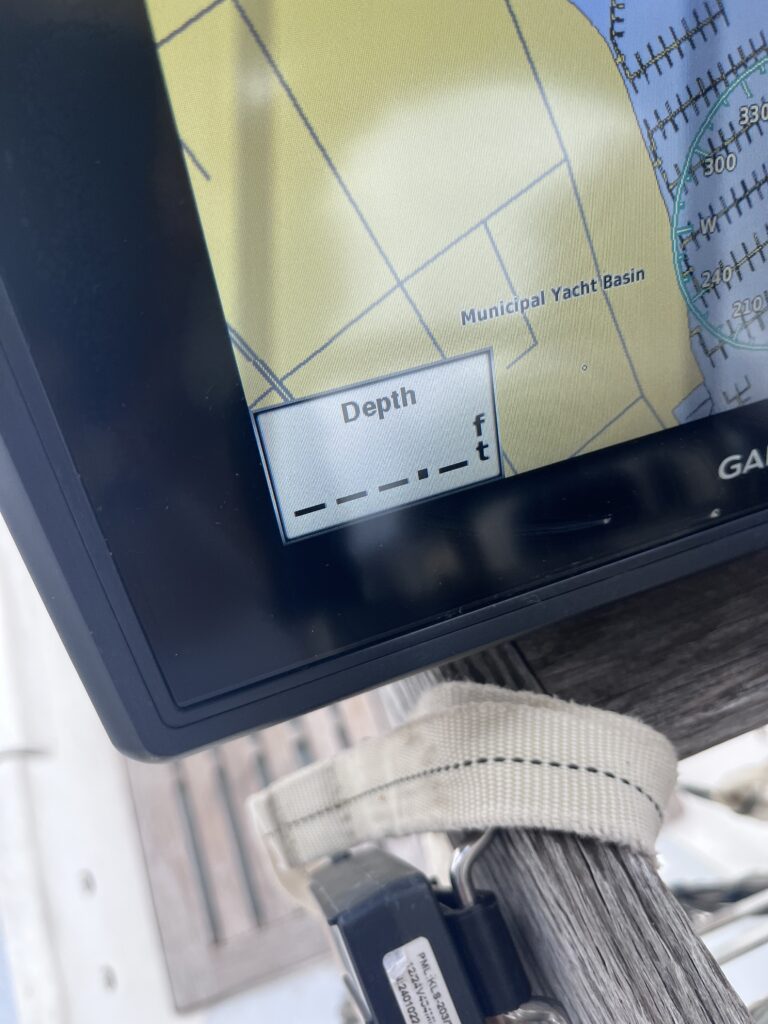
And, unbelievably (since they were two completely independent systems) it also was showing —.- instead of depth! I couldn’t believe it. What were the odds? I just really didn’t want to deal with it. Not having a depth sounder was pretty much a game stopper in the ICW, especially with a deep draft boat like mine. But, after all these engine problems, I decided I would just try to put it out of my mind and address it tomorrow.
So I reinstalled the original lift pump, bled the system (which I happen to be getting VERY good at) 😉 and cranked it up without an issue. Then I turned off the electric prime pump (the real test as to whether the old mechanical lift pump was still working) and the engine didn’t quit! I ran it at 1500 RPMs for about 10 minutes while checking for leaks, and found NONE! Hurray!
My plan for tomorrow is that I’m having the bottom cleaned in the morning, and my youngest son, Andrei and his girlfriend Ashlyn are visiting on their way up to St. Augustine mid-day, then I plan to take the boat out to the ICW and test it at high RPMs to see whether I’ve fixed the problem.
In the meantime, it was now 5:00 pm, and feeling that I had upheld my end of the bargain, took a shower, biked to Ace Hardware for the second time today, got the brackets I needed, then headed over to The Drunken Duck! I had a pleasant time, mostly conversing with a local couple who ended up paying for my second beer. So, I had two delicious beers and a few hours of much needed distraction and entertainment for only $8! Then I biked back to the boat and after a quick salad, hit the sack.
- This toilet is the first real project I ever did on my boat and one of the smartest things. The boat had a traditional flush-with-sea water-into-a-holding-tank type system. After doing your business, you would pump a handle which would suck up sea water into the toilet than take everything either overboard (if you were at least three miles offshore), or into a 40 gallon holding tank. The holding tank could be emptied either using a mascerator (which pumped and chopped) to pump it overboard (if you were at least three miles offshore), or by using a marina’s “pump-out” vacuum system. It had many components, including valves, the pump, hoses, a deck fitting, vent tubes, and two through-hulls (holes in the hull to either suck in salt water or flush waste out of). Oh, and it stunk. The hoses over the years had become permeated with waste and the boat reeked. It also took up a lot of space under the v-berth.
I had done a bunch of research on composting toilets and knew it was the way I wanted to go. My AirHead cost $1000 and took me three weeks to install (most of which was removing–very carefully so as not to spill anything in the boat!–the old system.) It turns out to have been just in time, too, because as I was removing the 40-gallon aluminum holding tank, it literally started dissolving in my hands. If I had continued to use it, there would have been a very stinky disaster on the boat!
A composting toilet is very simple and very effective. And, it-almost unbelievably–has no odor. It is designed to separate the urine from the solids (the key to the whole thing). The separate, two-gallon urine bottle lasts about three days after which it is simply detached and either poured overboard (when offshore or at anchor) or flushed down any public toilet. The solids tank is initially filled with coco coir (dried coconut husks) which comes as compressed, dehydrated blocks. These are rehydrated than used to fill up the solids tank. After doing #2, there is a small crank which is turned a few times to stir the waste and coco coir together. There is also a small, 12-volt fan (a computer fan, actually) that gently moves air across the solids tank, too. Together, these quickly dehydrate the waste, dramatically reducing its volume and eliminating any smell.
One tank full of coco coir lasts me 21 days on average. When the cranking starts to get too difficult, it’s time to change out the solids tank. This is not at all the unpleasant task you would imagine. The consistency is more like peat moss or soil, as is the smell. It is actually rather pleasant. I just remove the solids tank, dump the contents overboard if offshore or into a trash bag and thence into the nearest dumpster if ashore. (If at an anchorage, I just store the bag with the rest of my trash until I’m go ashore.)
The entire change out process takes about five minutes, with the hydration of the coco coir (which I do ahead of time) taking a day of pretty much just sitting in a plastic bag soaking up the water).
It’s been a tremendous addition to the boat. Not only does it never smell, it’s much more compact, free up a lot of space under the v-berth, reduced the weight on the boat, and allowed me to eliminate two through-hulls, two vent holes, and a deck fitting (all of which I had the boat yard fiberglass over).
↩︎ - The quick fix (and what I found worked well before) was ShoeGoo, believe it or not. I actually expected the leaks to be where I had previously glopped on a bunch of ShoeGoo, but they weren’t; they were just further along the seam. So, it seem like this would be an endless process moving forward. 🙁
I glopped some more ShoeGoo on the spots that were leaking, then immediately deflated the board using the reverse function on the pump to strongly suck out all the air and then, hopefully, suck some of the glue into the holes. This actually was the only thing that worked the last time. The problem this time was that I was using the leftover ShoeGoo tube, and the consistency wasn’t what it once was. I’m pretty sure it’s not going to hold, and I’ll have to do it over again sometime in the near future. I purchased a fresh tube at Ace.
The more permanent solution is to put a Hypalon (the material it’s made out of) patch over that whole area. I have those materials, but I’ll somehow first have to remove all my ShoeGoo glops, which will be a project. In the meantime, it’s manageable. It seems to hold air for most of a day, which should allow me to accomplish relatively quick chores ashore when necessary.
↩︎ - The detailed explanation, which I didn’t go into yesterday, is that where the leak was, on the output fitting for the mechanical lift pump, the compression fitting screw was going all the way into that threaded port and bottoming-out against the pump housing before it got a chance to do any of its compression magic. Its twin fitting, on the other hand (the input on the secondary filter), would get to within a few threads before I could feel it starting to tighten up (doing its compression magic). This was what Lance and I spent the most time discussing last evening. It was obvious comparing the old and new pumps that the compression fitting on the new pump was 2-3 threads further inside than the original pump. This is why it was leaking; the nut was bottoming out before it could reach the compression fitting.
↩︎ - So, I’ve always had a main depth sounder on the boat, one with its own transducer up toward the bow. It’s always worked flawlessly. But a month or so ago, when taking my boat out for a sea trial before I launched, it suddenly wasn’t working, nor was my wind indicator, both of which worked together. I tried a bunch of troubleshooting, but it seemed to be an integral part of my very old autpilot system, and I felt that too much troubleshooting would put those old, rusty connections at risk, and I didn’t want to risk losing the autopilot. So, I sort of gave up and decided I needed to come up with a different solution.
Right about this time, coincidentally, as I was sorting through all my belongings in storage to figure out what to sell, give away, throw away, or put on the boat, I came across a brand new depth sounder transducer that had come with the boat, but which the previous owner had never installed. This one was the type that instead of sticking out of a hole the hull, was glued to the inside of the boat and broadcast its signal right through the hull. And, it was designed to plug right into my current Garmin chartplotter. I was saved! So I took a day to install that and calibrate it, and it worked like a champ, and showed the depth right on my GPS. Great!
Then, a bit later, realizing that I really did need my wind indicator if not my original depth sounder, I decided to go back to troubleshooting and eventually discovered that some idiot had cut the power wire to it during the big lithium/solar installation project (me). So, I fixed that and then had two depth sounders! Very awesome. Both had alarms, so I set one to go off at 8′ and the other at 7′. These alarms had already kept me from going aground about six times on my two week trip since getting to Daytona! ↩︎